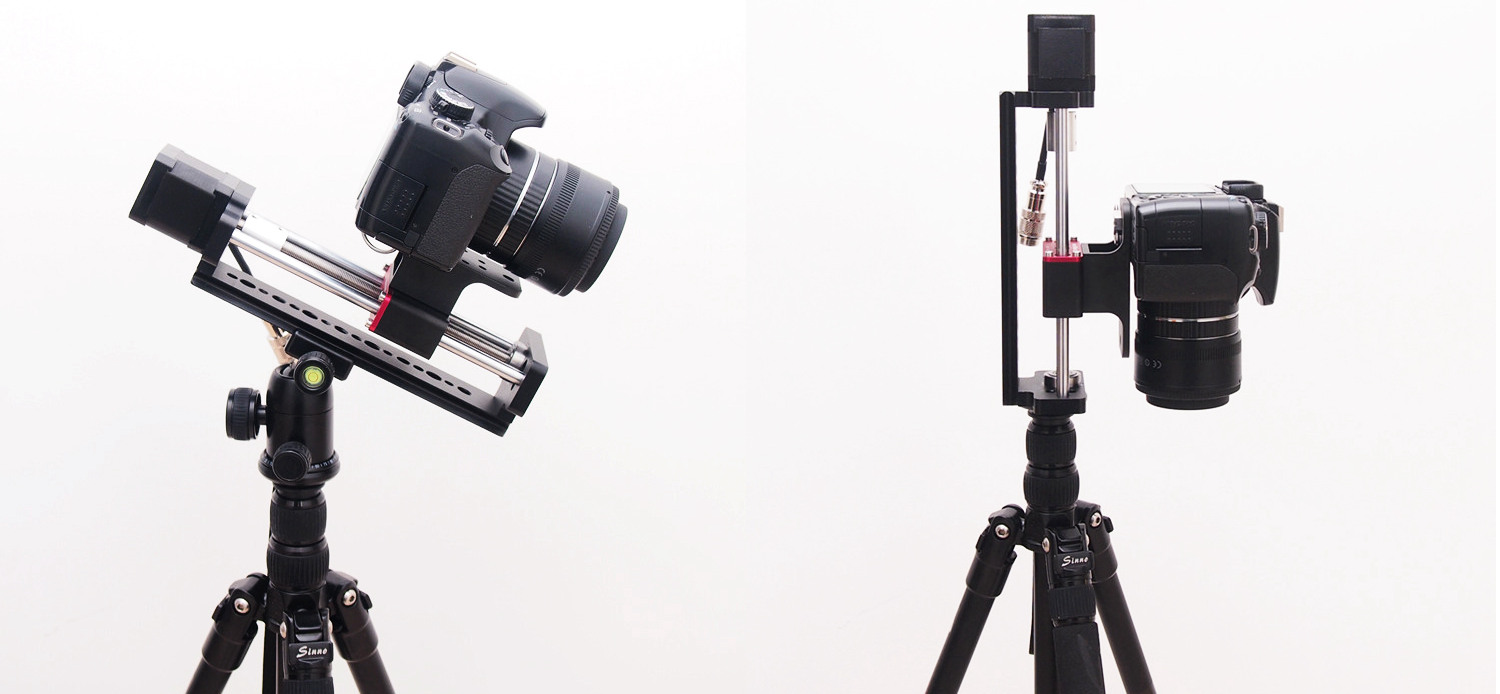
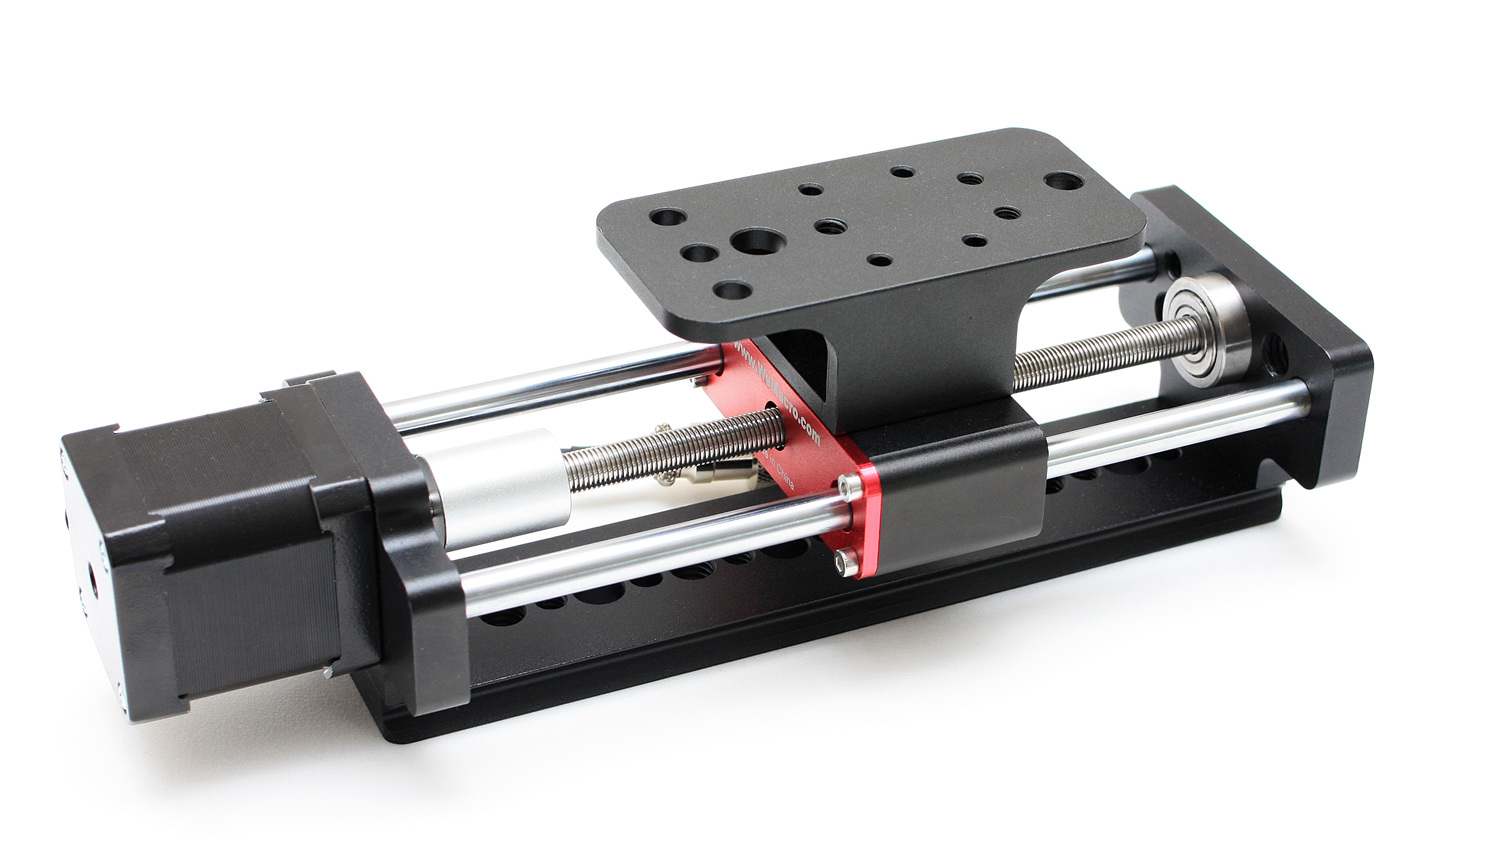
1,Install the camera on the rail by using 1/4 inch screw.


2,Install the rail on a tripod by using the screw hole in the rail bottom.There are 4 kinds of holes in bottom, 1/4 inch screw holes, 3/8 inch screw hole, 6.5 mm diameter and 10 mm diameter hole.Each kind of hole has four positions.
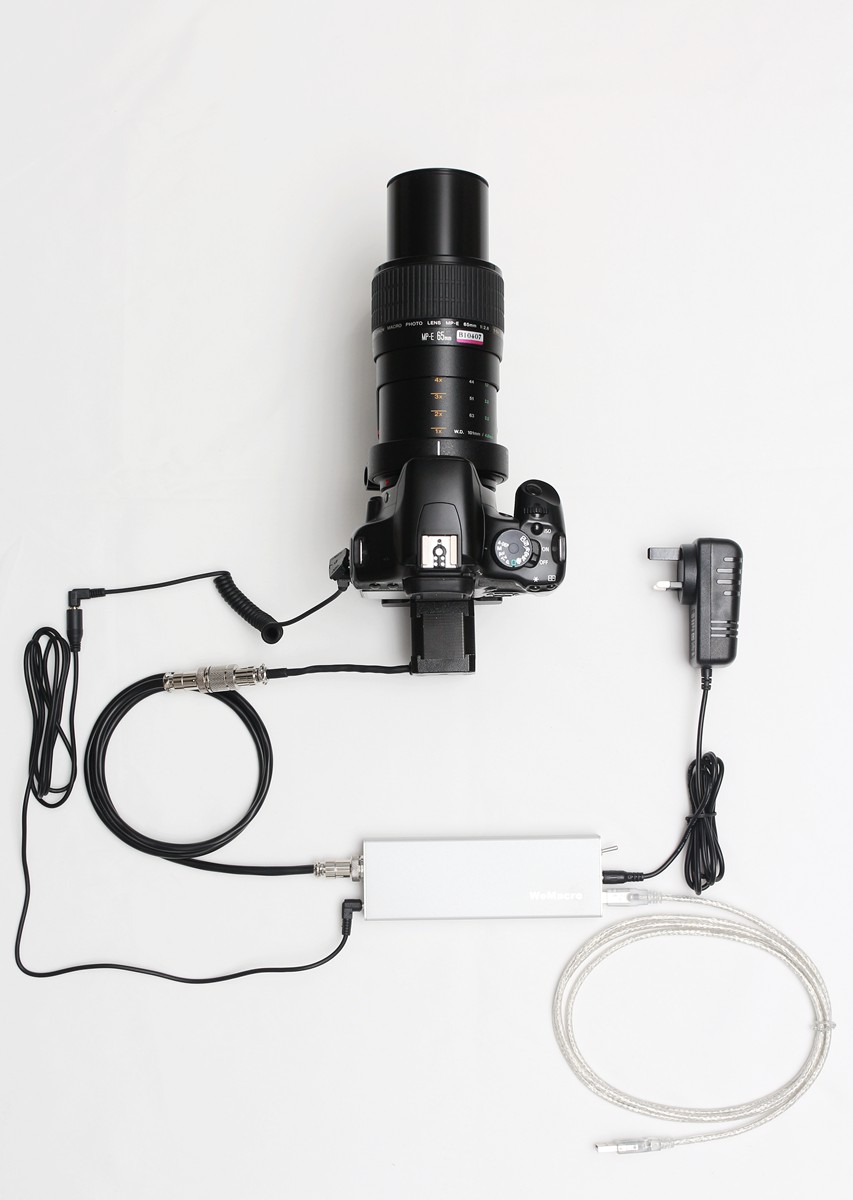
3,Connect the shutter extension cable to the control box,shutter cable connect to camera.Then connect these two cable
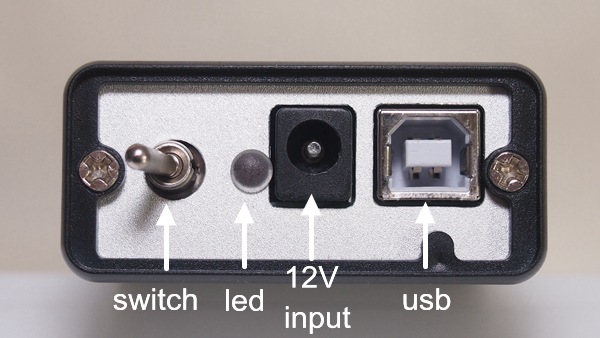
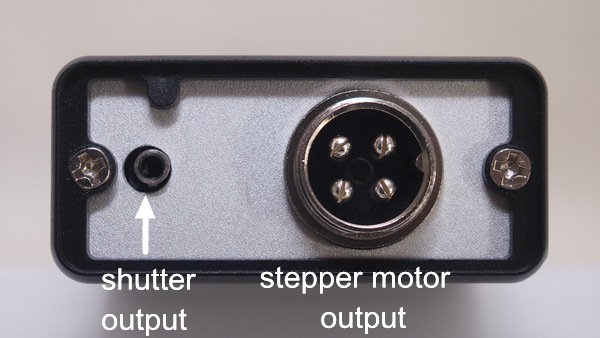
4,Connect the USB cable with computer and control box.Connect the stepper motor cable with control box and the rail.Be careful of the direction of the cable’s notch.

The computer will notify that the system find a new hardware.Please install the driver.(microsoft Visual C runtime library support needed)
And we also provide holes at one side of rail to vertical install. 2 of 1/4 inches threaded holes and 3/8 inches threaded holes.If you want take photos on plants seeds or sands,you can set it vertically.(Notice: The platform wihich you put sand on it should not connect with the tripod,otherwise the shutter‘s vibration will make the sands moves in shooting. )
Notice:Please avoid running the platform to both rail’s edge . If it jams at the edge,turn off the power first,then rotate the coupling by hand(counter-clockwise at motor side,clockwise at front side,look from motor side).
Diagram of cable connection (usb cable connect to PC if it‘s controlled by computer. )
A little upgrade about how we install 1/4 inch bolt.Make it easier to install the camera since 2016 June.
In front of the plate,there are two M5 thread hole,user can use 2 M5 nylon screws to support the lens.It will help to reduce the time of vibration which caused by mirror.The vibration will be obvious when the magnification is higher than 5X and the light is continuous light.
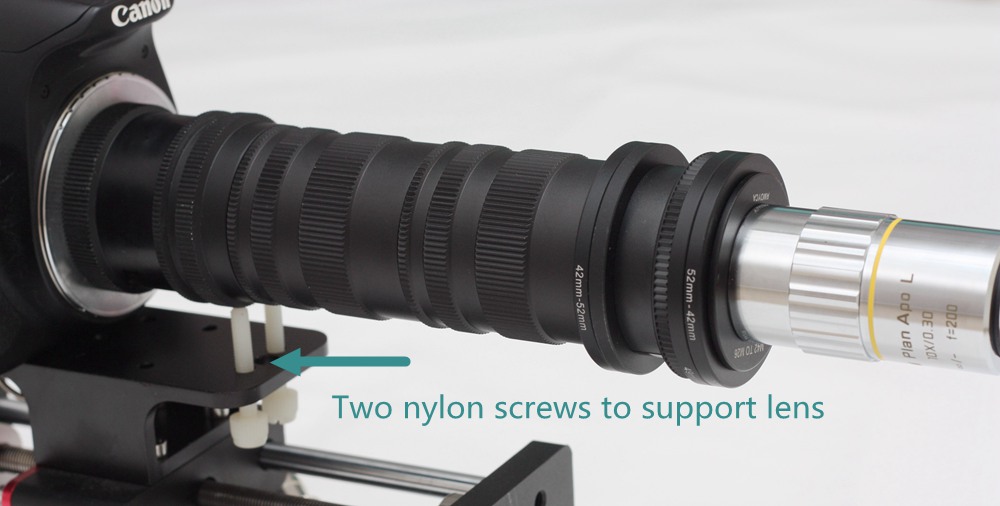
There is an optional parts, Ring support, which can reduce mirror’s vibration a lot.It will supply in the store.

There are 4 types of holes in the rail bottom:1/4 inches threaded hole;3/8 inches threaded hole;10 mm diameter hole;6.5 mm diameter hole.Each of them have 4.
